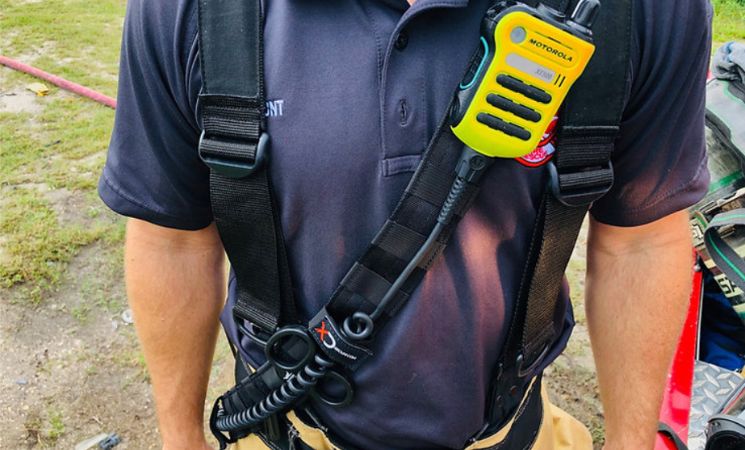
A radio strap is a very useful first responder accessory that is not only practical in its design but can also be fitted to the individual’s preference. With the right strap design, one is able to have accessible communication tools during the shift while also being comfortable throughout the shift.
A radio strap can be made to order, which means you get to choose the ideal material, size and accessories, depending on your job. Below we explain each step together so that you can learn how to create a strap that is comfortable and at the same time durable, and has an individual touch for you.
Step 1: Choose the Right Materials
Choosing the appropriate material for the custom radio strap is imperative. Leather is often used because it is resistant to wear and tear and makes the strap look more traditional; however some people prefer to use synthetic materials because these are lighter and do not absorb moisture. Some of the options to look at when purchasing the material for the strap are comfort, durability and the weight of the material.
Step 2: Measure for a Perfect Fit
A strap should be made to fit the individual as closely as possible. It must fit without pinching or chafing. Firstly, measure from the right shoulder through the chest and down to the left hip area—where the radio holster should be. This will provide a strap size that will be comfortable for the wearer and will not restrict their movements.
Step 3: Check Strap Width and Padding
The width and thickness of the radio strap determine the level of comfort you will get and the level of support the strap offers. A wider strap will be helpful in that it evenly distributes the weight if you are carrying multiple items or if you are using your strap for a considerable amount of time. You may also wish to add padding to the custom radio strap to avoid it cutting into your shoulder, especially important in cases where the strap will bear considerable load.
Step 4: Customize the Color and Design
Some choose to wear more invisible colors such as black or brown, whereas others choose to wear bright colors to attract attention. You can also use reflective stitching or reflector patches to make the custom radio strap more visible to others in the night. Ensure personalization, and at the same time, prioritize utility and functionality.
Step 5: Add Functional Accessories
Some accessories used can make your custom radio strap more functional. Common accessories are mic clips, holsters, D-rings for attaching other accessories such as gloves or flashlights, etc.
Step 6: Test and Adjust for Comfort
After your personal radio strap is made, wear it for several days on different occasions to check both the comfortability and usefulness of the strap. Modify as needed to enhance the strap’s suitability for your radio and other accessories.
Conclusion
By completing these outlined steps, you will be able to create the best strap just for you; something that will best suit your needs as well as your personality. Taking the time to pick out the right materials, being meticulous with your measurements, etc., will help with establishing your custom strap as a trustworthy, useful aid in the future.


