
Proper preparation is crucial to a successful hardwood flooring project. If you want to get the most out of your new floors, taking the right steps before installation can save you time, money, and headaches later. Whether you’re hiring professionals or tackling the job yourself, this guide will walk you through each important phase, ensuring a smoother process and a stunning finished result. For trusted expertise and top-quality flooring solutions, connect with Soen Hardwood, a leader in hardwood floor installation. From clearing your rooms to communicating with your flooring team, this article covers everything you need to confidently prepare your home.
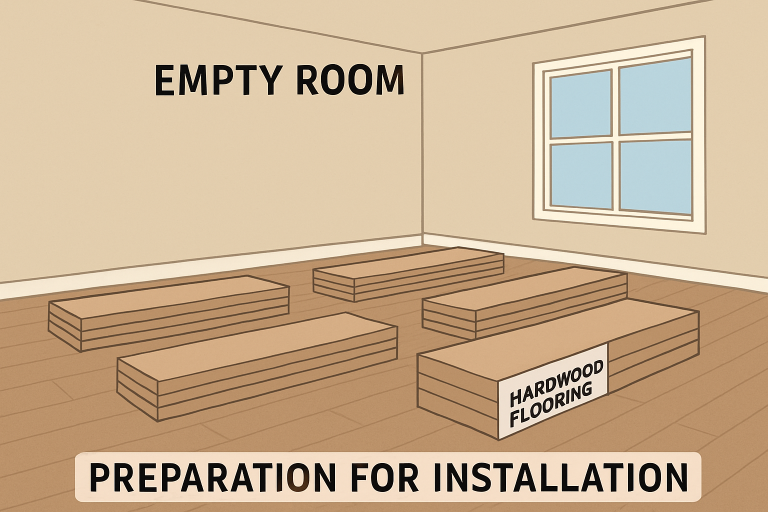
Clear the Installation Area
The first step is to clear out all belongings from the area where the hardwood flooring will be installed. Remove furniture, carpets, rugs, and any personal items to allow installers free and unobstructed access. Remember to take down wall decorations as well, as vibrations from tools can cause them to fall. Clearing the space not only protects your items from dust and potential damage but also speeds up the installation process.
Ensure a Level and Clean Subfloor
Before hardwood planks go in, the subfloor must be clean, dry, and level. Carefully inspect for bumps, cracks, or loose nails that could cause problems later. Use a long level to identify uneven spots and correct these with a floor patch or sanding. Removing debris and thoroughly sweeping the area prevents scratches or imperfections in the finished floors.
Acclimate the Hardwood Flooring
Hardwood is a natural material that responds to shifts in temperature and humidity by expanding and contracting. Let the unopened boxes of wood acclimate to your home’s conditions for at least 48 to 72 hours. Place them flat in the room where they will be installed. This crucial step helps prevent issues such as warping or gaps once the flooring is in place, especially if your region experiences pronounced seasonal changes.
Maintain Optimal Indoor Conditions
To minimize the risk of future floor movement, keep your home’s temperature between 60 and 80 degrees Fahrenheit and relative humidity between 35 and 55 percent before, during, and after installation. Sudden changes in indoor climate can cause cupping, crowning, or gapping in the wood. Investing in a quality humidifier or dehumidifier may help, especially in areas with extreme weather.
Plan for Noise and Dust Management
Installing hardwood floors can be loud and messy. Notify family members and close neighbors in advance about increased noise levels. To keep dust contained, seal off doorways with heavy-duty plastic sheets or painter’s tape. Consider temporarily shutting down your HVAC system, as airflow can spread dust particles throughout your home. Once installation is complete, replace HVAC filters and thoroughly clean the ducts, if needed.
Address Doorways and Trim
Hardwood flooring often changes the finished height of your floors, requiring adjustments to doorways and trim. Measure the new floor thickness to assess whether interior doors will have adequate clearance. In most cases, doors need to be removed and trimmed before re-hanging. Removing baseboards and moldings before installation provides a more professional finish and prevents breakage during installation. After installation, reinstall or replace the trim for a seamless, polished look.
Protect Pets and Valuables
The commotion of installation can be stressful and even dangerous for pets. Designate a safe, quiet area away from the work zone for your animals, and inform installers. Safeguard valuables and fragile items by storing them away or covering them with protective sheets to prevent accidental damage from dust or foot traffic.
Communicate with Your Installation Team
Communication is key to a stress-free flooring project. Before work begins, discuss the project timeline, specific requests (such as plank direction or transition strips), and any concerns you may have. Inquire about how the installers will handle cleanup and how long you should wait before walking on your new floors or moving furniture back. Review the workspace together to confirm expectations and clarify details, setting the stage for a successful installation.
Final Thoughts
A successful hardwood flooring installation starts well before the first plank is ever installed.
Careful preparation clearing the space, leveling the subfloor, acclimating the wood, and maintaining ideal indoor conditions sets the foundation. Addressing practical concerns like noise, dust, doorways, and the safety of pets and valuables ensures a smoother process, while clear communication with your installation team keeps the project on track. By investing time in these preparatory steps, you protect your home and investment and ultimately enjoy beautiful, long-lasting floors with minimal stress.